In September of 2025, The New York Times published an article, “A Weekly Workout to Protect Your Knees.”
It recommends performing 5 exercises once or twice a week.
The article claims that, “The key to healthy [knees] is often strengthening the muscles on either side of them.”
The recommended exercises include:
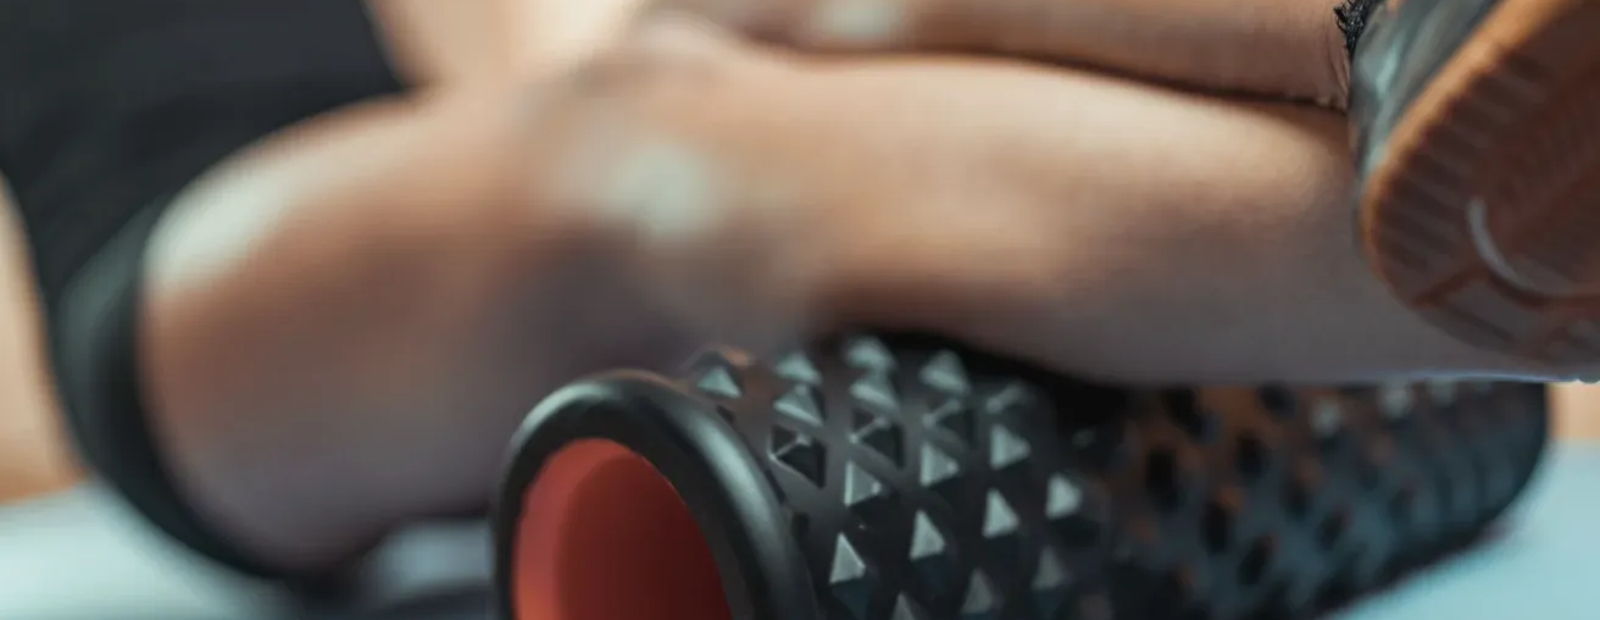
- Quad Foam Rolling
- Clamshells
- Calf Raises
- Goblet Squats
- Bulgarian Split Squats
You may recognize some of these.
But will these exercises really give you Better Knees?
What is Quad Foam Rolling?
If you feel tightness on the front of your thighs, you may be inclined to stretch these muscles (the quadriceps).
However, stretching your quadriceps may place too much force on your knees – depending on how strong the inside of your knees are – resulting in more knee discomfort.
Instead, applying pressure to these muscles with a foam roll (like the article suggests) often temporarily relaxes the muscle.
This involves lying face down on the floor, which can be awkward, so I’ve advocated using a trigger point stick or a rolling pin.

The Benefits of Quad Foam Rolling
Consistently performing this exercise may decrease uncomfortable tension on the front of your thighs.
And when these symptoms are related to active muscular trigger points – knots or taut bands within these muscles – it can sometimes alleviate knee pain.
Muscular trigger points are often caused by overuse or injury. (source, source)
And since they remain in a state of contraction, they don’t relax with rest alone.
Each white “x” pictured below represents a trigger point within the four quadriceps muscles.

Applying pressure to a trigger point causes localized tenderness or pain.
And in some cases, applying this pressure also aggravates discomfort or pain in nearby areas (pictured above in red).
So by getting rid of the trigger points, the nearby pain or discomfort is also alleviated.
But the decrease in symptoms is temporary.
The Limitations of Quad Foam Rolling
The New York Times article suggests performing Quad Foam Rolling for 90 seconds once or twice a week.
But given the temporary nature of the results, I’ve found that most people who benefit from applying force to their muscles need to do so more frequently – for a few minutes at a time, and as often as twice daily.
And while the exercise may make your leg more comfortable, and perhaps decrease knee pain that is referred from trigger points, it won’t address weakness inside your knees.
Quad Foam Rolling is not addressing why you may have the trigger points to begin with.
And since it doesn’t eliminate the underlying causes, your knee pain or discomfort will keep coming back.
Therefore, Quad Foam Rolling by itself won’t give you Better Knees.
What are Clamshells?
If you’ve seen a physical therapist for your knee pain, chances are high that Clamshells, or something similar, were recommended.
This exercise requires you to lie on your side with bent knees.

In this position, you’ll “slowly lift your top knee… then lower your knee down to the starting position.” (source)
The goal is to achieve fatigue in the outer buttocks (glutes).
The Benefits of Clam Shells
In a 2023 randomized control trial, researchers determined that adding hip exercises, versus solely completing thigh exercises, improved the outcomes for older adults with knee arthritis. (source)
And previous research has reported that weak hip muscles lead to “abnormal gait mechanics” like limping. (source)
This has been thought to alter the loads placed on the knees, and accelerate knee arthritis.
In a 2022 meta-analysis of 10 high quality scientific studies, researchers concluded that strengthening hip muscles resulted in more function and less pain.
But uncertainty still exists regarding how long these improvements last. (source)
The Limitations of Clamshells
Oftentimes physicians and physical therapists tell patients that strengthening their hip muscles will take pressure off their knees.
And if someone has hip weakness that is causing them to limp, that may be true.
However, multiple high-quality studies have repeatedly indicated that stronger hip muscles don’t decrease the load and compressive forces occurring on the knees. (source, source, source)
I’ve talked about this previously here.
Moreover, a decrease in knee pain may not be a unique benefit attributed to hip strengthening alone.
A 2025 randomized control trial compared 6-week regimens of strengthening exercises – core vs. hip vs. thigh muscles – among 40 - 60 year old adults with knee arthritis.
The improvements of knee pain and function was similar regardless of which part of the body the exercise targeted. (source)
Strengthening your hip muscles (glutes), in some cases, may be temporarily helpful.
But performing Clamshells alone probably won’t give you Better Knees.
However, since they can be completed without placing loads on knees that may be weak, the Clamshells may be supportive in conjunction with the Inside Out Knee Health approach.
5 Ways to Improve Clamshells
If you decide to incorporate Clamshells into your plan to build Better Knees, I have 5 recommendations to offer.

(Watch the 3-minute video here.)
#1 Engage your core.
By forcefully exhaling – like you’re blowing out a candle or inflating a balloon – you’ll engage muscles (including the transverse abdominus) that stabilize your lower trunk.
This support ensures only your top leg is moving, which makes the exercise more efficient.
#2 Tilt your top hip forward.
Our bodies tend to find easier ways to accomplish exercises.
Rather than stacking your hips directly on top of one another, tilt your top hip slightly forward.
This places your body in better alignment to activate the glutes, the region I call the “back hip pocket” muscles.
For an additional tip,
scroll to 0:47 within this video.
#3 Adjust the angle of your knees.
If you have any discomfort within your knees during this exercise, particularly around your kneecaps (patellas), straighten your knees slightly.
This decreases the force on your knee joints, so you’ll achieve the intended benefit of the exercise without the risk of more knee pain.
#4 Create a “pulsing” motion.
During each repetition, lower your top knee no more than 2 inches (5 centimeters).
This small arc of movement means your hip muscles will be unable to rest, and instead remain engaged.
This results in getting tired more quickly.
#5 Achieve 80% fatigue.
The New York Times article recommends performing Clamshells for three sets of 10 to 12 repetitions per side.
But unless this is very challenging for you – and it may not be – this won’t result in stronger hip muscles.
Instead, perform Clam Burners until you achieve an 80% fatigue level (where 0% is completely rested & 100% is the inability to continue with good form).
When your face begins to grimace slightly, you’ve likely achieved this 80% fatigue.
When Clam Burners become easier–
when it takes longer than 2 minutes to achieve 80% fatigue–
you may be ready to progress to this exercise.
What are Calf Raises?
This exercise may be performed just about anywhere.
In the previously mentioned article, The New York Times explains how to perform Calf Raises:
- “Stand an arm’s length away from a wall or chair, with your feet hip-width apart. You can place a few fingers on the wall or chair to help with balance.”
- “Keep your knee straight, with your weight across your forefoot. Rise up for a count of three and down for a count of three. Your ankle should not roll in or out.”
- Stop if you feel your form starting to change because you feel tired, especially in the ankle. When this becomes easy, advance to single-leg calf raises.”
- “To work your ankle through a greater range of motion, and to get a deeper stretch in the calf, perform either version with the heel hanging off a stair or a box.”
(source)
The goal is to utilize full available ankle motion and to achieve fatigue in the back of the lower legs (calves).
The Benefits of Calf Raises
The New York Times recommends performing three sets of 15 to 20 repetitions, with 20 to 30 seconds rest between sets.
Given that moderate to maximal fatigue occurs, this will likely increase someone’s calf strength.
Moreover, if you use all of your available ankle range of motion, Calf Raises will also encourage improvements in ankle mobility.
Calf strength and flexibility has been shown to provide some shock absorption for your knees. (source)
But that benefit is much more pronounced when walking backwards rather than walking forwards. (source; source)
I’ve discussed this previously;
to learn more, click here and scroll to 1:32.
The Limitations of Calf Raises
In a 2020 study, researchers compared a group of patients with knee arthritis with a group unaffected by knee arthritis.
They found that ankle flexibility was similar between the two groups.
But those with knee arthritis had weaker calf muscles.
Due to this finding, calf strengthening was recommended. (source)
However, this correlation doesn’t necessarily indicate that weaker muscles caused the knee arthritis.
It’s possible that the knee pain and symptoms led those individuals to be less active.
And less activity will result in weaker muscles.
In this case, strengthening their calf muscles may make their calf muscles stronger, but it won’t guarantee that their knees will feel better.
Likewise, a 2024 research article analyzed the flexibility of the gastrocnemius (calf) muscle among people with arthritis in only one knee.
They found that both sides – the side with knee arthritis and the side without knee arthritis – both exhibited more stiffness compared to those who didn’t have knee arthritis. (source)
Since there was less flexibility within the leg that was unaffected by knee arthritis, it makes it difficult to conclude that addressing this will change their knee symptoms.
Finally, another 2024 study acknowledged that neither foot alignment nor the thickness of the Achilles tendon (the structure that ties your calf muscle to your heel bone) causes knee pain and problems. (source)
So while Calf Raises may promote ankle mobility and calf strength – and in some cases, decrease the load on your knees – this exercise won’t address weakness inside your knees.
Therefore, Calf Raises alone won’t give you Better Knees.
What are Goblet Squats?
In “A Weekly Workout to Protect Your Knees,” The New York Times explains how to perform a Goblet Squat:
- “Stand with your feet about shoulder-width apart and facing slightly outward.”
- “Hold a dumbbell or kettlebell close to your chest with both hands.”

- “Keep your chest up and gaze forward, as you sit your hips down and back.”
- “(The goal is to get your thighs parallel with the ground, but this may take time.)”

- “Return to standing.”
(source)
What are Bulgarian Split Squats?
Here’s how to perform a Bulgarian Split Squat, according to The New York Times:
- “Stand with your back to a chair, couch or bench at roughly knee height. Position yourself about two feet from it.”
- “Bend your left knee and place the toes of your right foot on the top of the chair.”

- “With your hands on your hips or clasped in front of your chest, bend both knees at the same time into a deep lunge.”

- “Pause for a moment at the bottom, then rise back up.”
(source)
The Benefits of Goblet Squats & Bulgarian Split Squats
Both squatting exercises target muscles of your hips and thighs, as well as the middle of your body (your core).
The Bulgarian Split Squats will also add an element of balance.
Strong muscles prevent frailty. (source, source)
Strong muscles are also associated with knees that feel good. (source, source)
Muscle strengthening may be beneficial if the Load Tolerance of your knees is sufficient.
Your Load Tolerance for squatting is the amount of force you can produce and withstand while bending and straightening your knee 5 times without getting pain or symptoms.
If you can sit down and stand up from a chair five times with good form, you’re placing half your bodyweight on each leg.
And if you can do so without any knee pain – during the movement and within the following 36 hours – your Squat Load Tolerance is at least 50% of your bodyweight.
The Limitations of Goblet Squats & Bulgarian Split Squats
Often health care providers recommend muscle strengthening to improve the alignment of your body while you’re moving.
And this may decrease some extraneous forces – such as the case of your knees moving towards each other as you sit down on a chair.
But muscle strengthening won’t eliminate all the forces on your knees. (source)
Half your bodyweight is placed on each leg when you complete a standard squat – at the gym, or when you sit down or rise from a chair without using your hands.
Since I weigh about 160 pounds, this means my left knee withstands 80 pounds and my right knee withstands 80 pounds as I squat.
When I performed the Goblet Squat (pictured above), I was holding a 35 pound kettlebell.
This means half of this weight was placed on my right leg and half on my left leg.
That’s 17½ pounds per leg in addition to half my body weight (80 pounds).
This is a total of 97½ pounds on my right leg and 97½ pounds on my left leg – which means a force of roughly 61% of my body weight is placed on each leg.
Since my knees feel great and my Load Tolerance for squatting is much higher than this, Goblet Squats are safe for my knees.
But let’s say my right knee had been hurting recently when I sat down on the couch or stood up from a chair.
In this case, my Squat Load Tolerance would be less than 50% of my bodyweight.
And performing the Goblet Squat (pictured above) would be overloading my knee by more than 11% of my body weight.
Eventually, if not immediately, this would cause my right knee to hurt even more.
The same would be true for the Bulgarian Split Squat.
I used an analog bathroom scale under my front foot to reveal that the squatting knee was withstanding 125 pounds, or roughly 78% of my bodyweight:

Let me be clear: the ultimate goal is muscle strengthening.
Muscle strengthening has many benefits for your health and well-being.
But if your knees are not capable of withstanding the forces during muscle strengthening, you’ll end up with weaker, more painful knees.
What to do instead
Weak, painful knees will hinder your ability to develop and maintain strong muscles.
The solution is building stronger, healthier knees from the inside out.
The 1st phase of building Better Knees involves soothing your knees – improving the fluid (synovial fluid) inside and decreasing stiffness, swelling, and resting pain.
The 2nd phase involves strengthening inside your knees – improving the surfaces (the cartilage) so they become more firm and can withstand greater forces without damage occurring.
After completing phase one and two, the 3rd phase strengthens outside your knees – including your muscles – without causing a return of your knee pain.
Related Articles

For personalized guidance to build Better Knees:
Schedule a free 20-minute Strategy Session. (Find your best time here.)
Disclaimer: The information in this blog post is for educational and informational purposes only and is not intended as medical advice. It should not be used to diagnose, treat, or prevent any health issue or disease without consulting with a qualified healthcare professional. The author of this blog and the website do not bear any responsibility for any actions taken based on the information provided in this blog.
Disclaimer: Disclaimer: The information in this blog post is for educational and informational purposes only and is not intended as medical advice. It should not be used to diagnose, treat, or prevent any health issue or disease without consulting with a qualified healthcare professional. The author of this blog and the website do not bear any responsibility for any actions taken based on the information provided in this blog.
Related Posts
My Shoulder Hurt for Months — Then I Did a Pull-Up. Here's What That Has to Do With Your Knees.
The body often adapts before symptoms improve, which is why people quit their recovery too early. Tracking objective measurements like knee joint Load Tolerance helps bridge the gap between what you feel and what is actually changing. This is the foundation of the Insid
PRP for Knee Pain: An Honest Look at the Evidence
PRP (Platelet-Rich Plasma) injections are among the most debated treatments for knee osteoarthritis. Research suggests PRP can reduce pain and improve function — but platelet dose, preparation protocol, and patient selection significantly affect outcomes. Most important
Why Daily Exercise Won't Necessarily Help You Avoid a Knee Replacement
Daily exercise improves circulation and muscle endurance, but it doesn